Listen, I’m in my late twenties and I’m a stay at home mom in the Midwest. Of course, I’m trying to figure out sourdough, I mean have you seen the prices of things in the grocery store? I can choose to pay more money for things with more additives or I can learn how to make it at home, pay less, and know what I make has healthier ingredients. Also, everyone else is doing it and I wanna be cool too.
But really, sourdough has a lot of great benefits one of which is that it’s better for gut health! As an IBS girly that’s a big selling point for me. However, to make sourdough bread or any sourdough recipe really, you need sourdough starter.
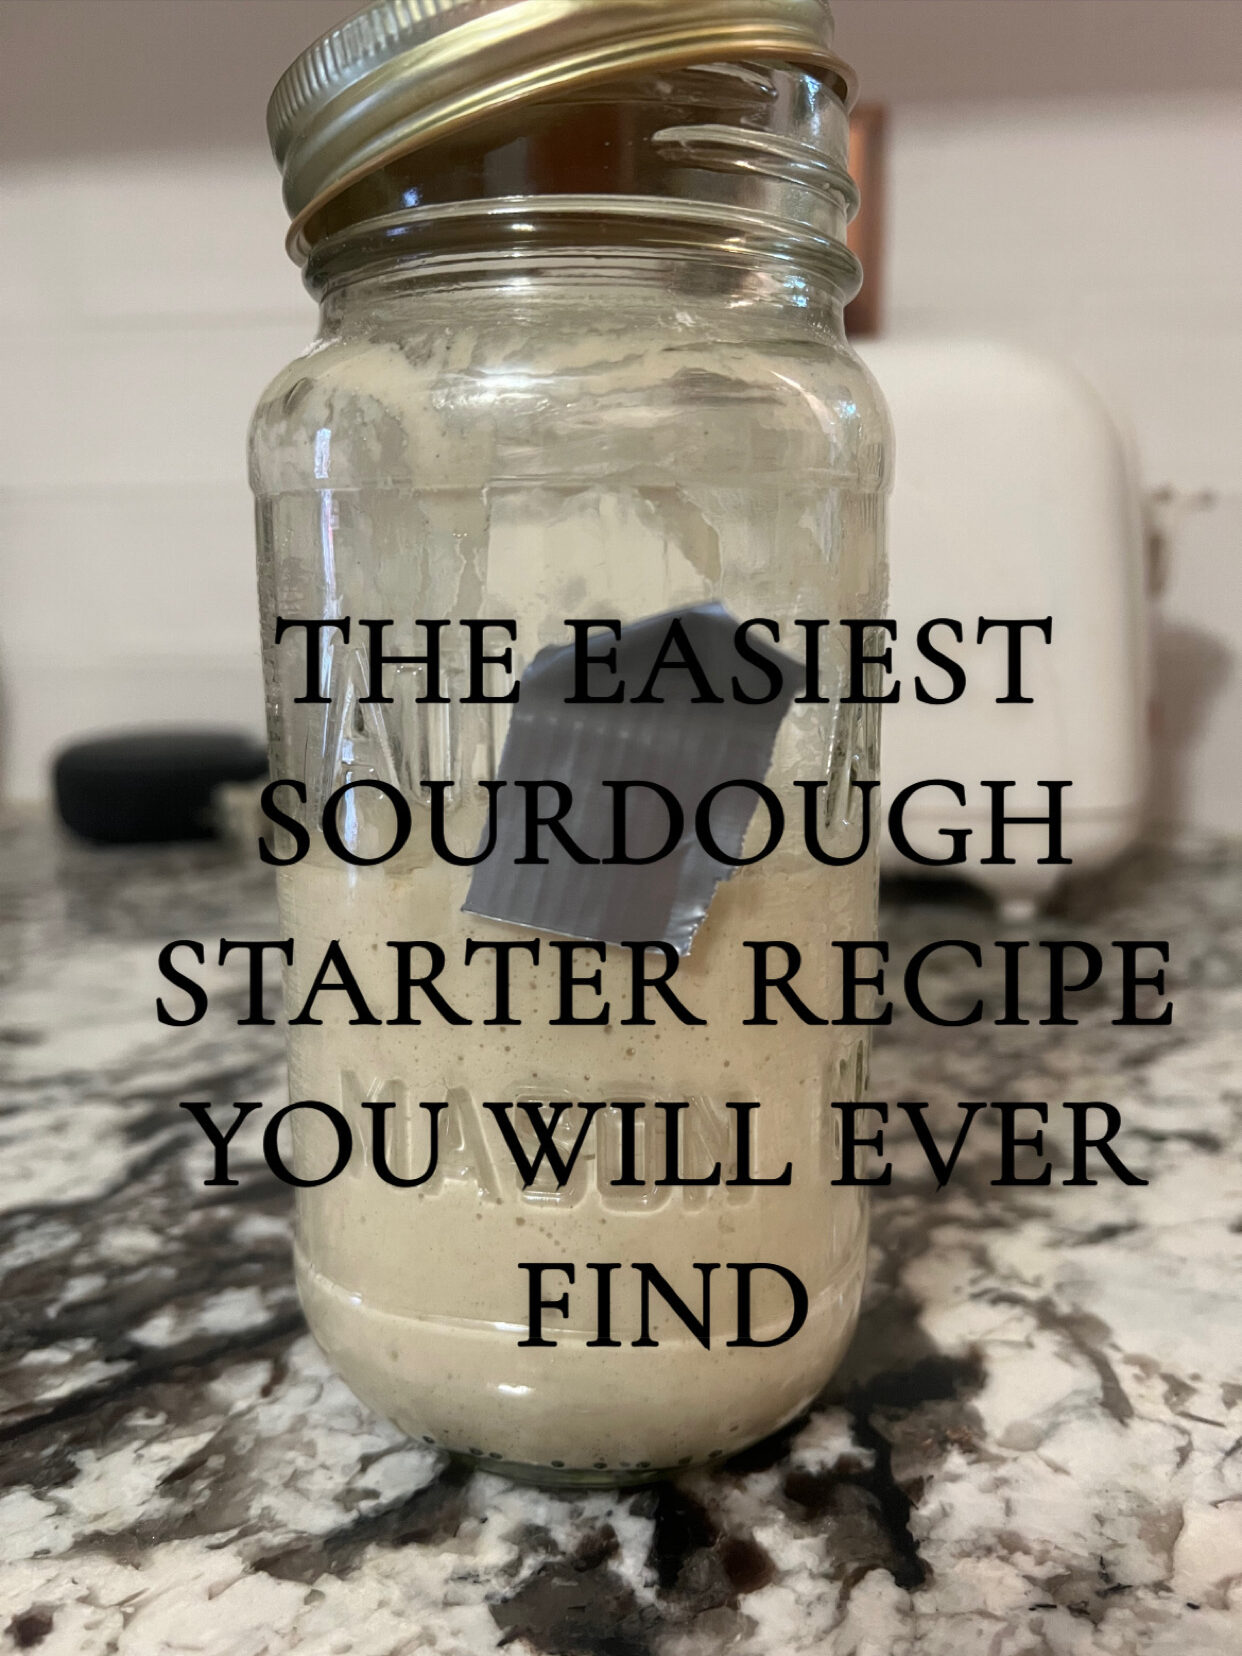
Basically when you make normal breads, you use a packet of yeast, when you make sourdough your ‘yeast packet’ is in a glass jar on your counter that you feed daily and have slowly let become a part of your personality.
This is only the third time I’ve tried to do sourdough. The first time was actually pretty successful. I hadn’t made bread but I did make cookies, brownies (my favorite ever) and a few other treats. But then my mental health started to not go great and my started ended up dead. Better it than me, I guess. The second time I tried I got some starter from a neighbor. I kept it alive for a while but was never able to make anything with it because I put it to pause in the fridge and I… well.. forgot it ever existed.
So third times the charm, right!
Now you always have the option to get starter from a friend, bakery or any other random person, but I like to try and make mine. It’s incredibly easy and all of the two ingredients you need to make it you will also need for any sourdough recipe. So, let’s get sourdough started.
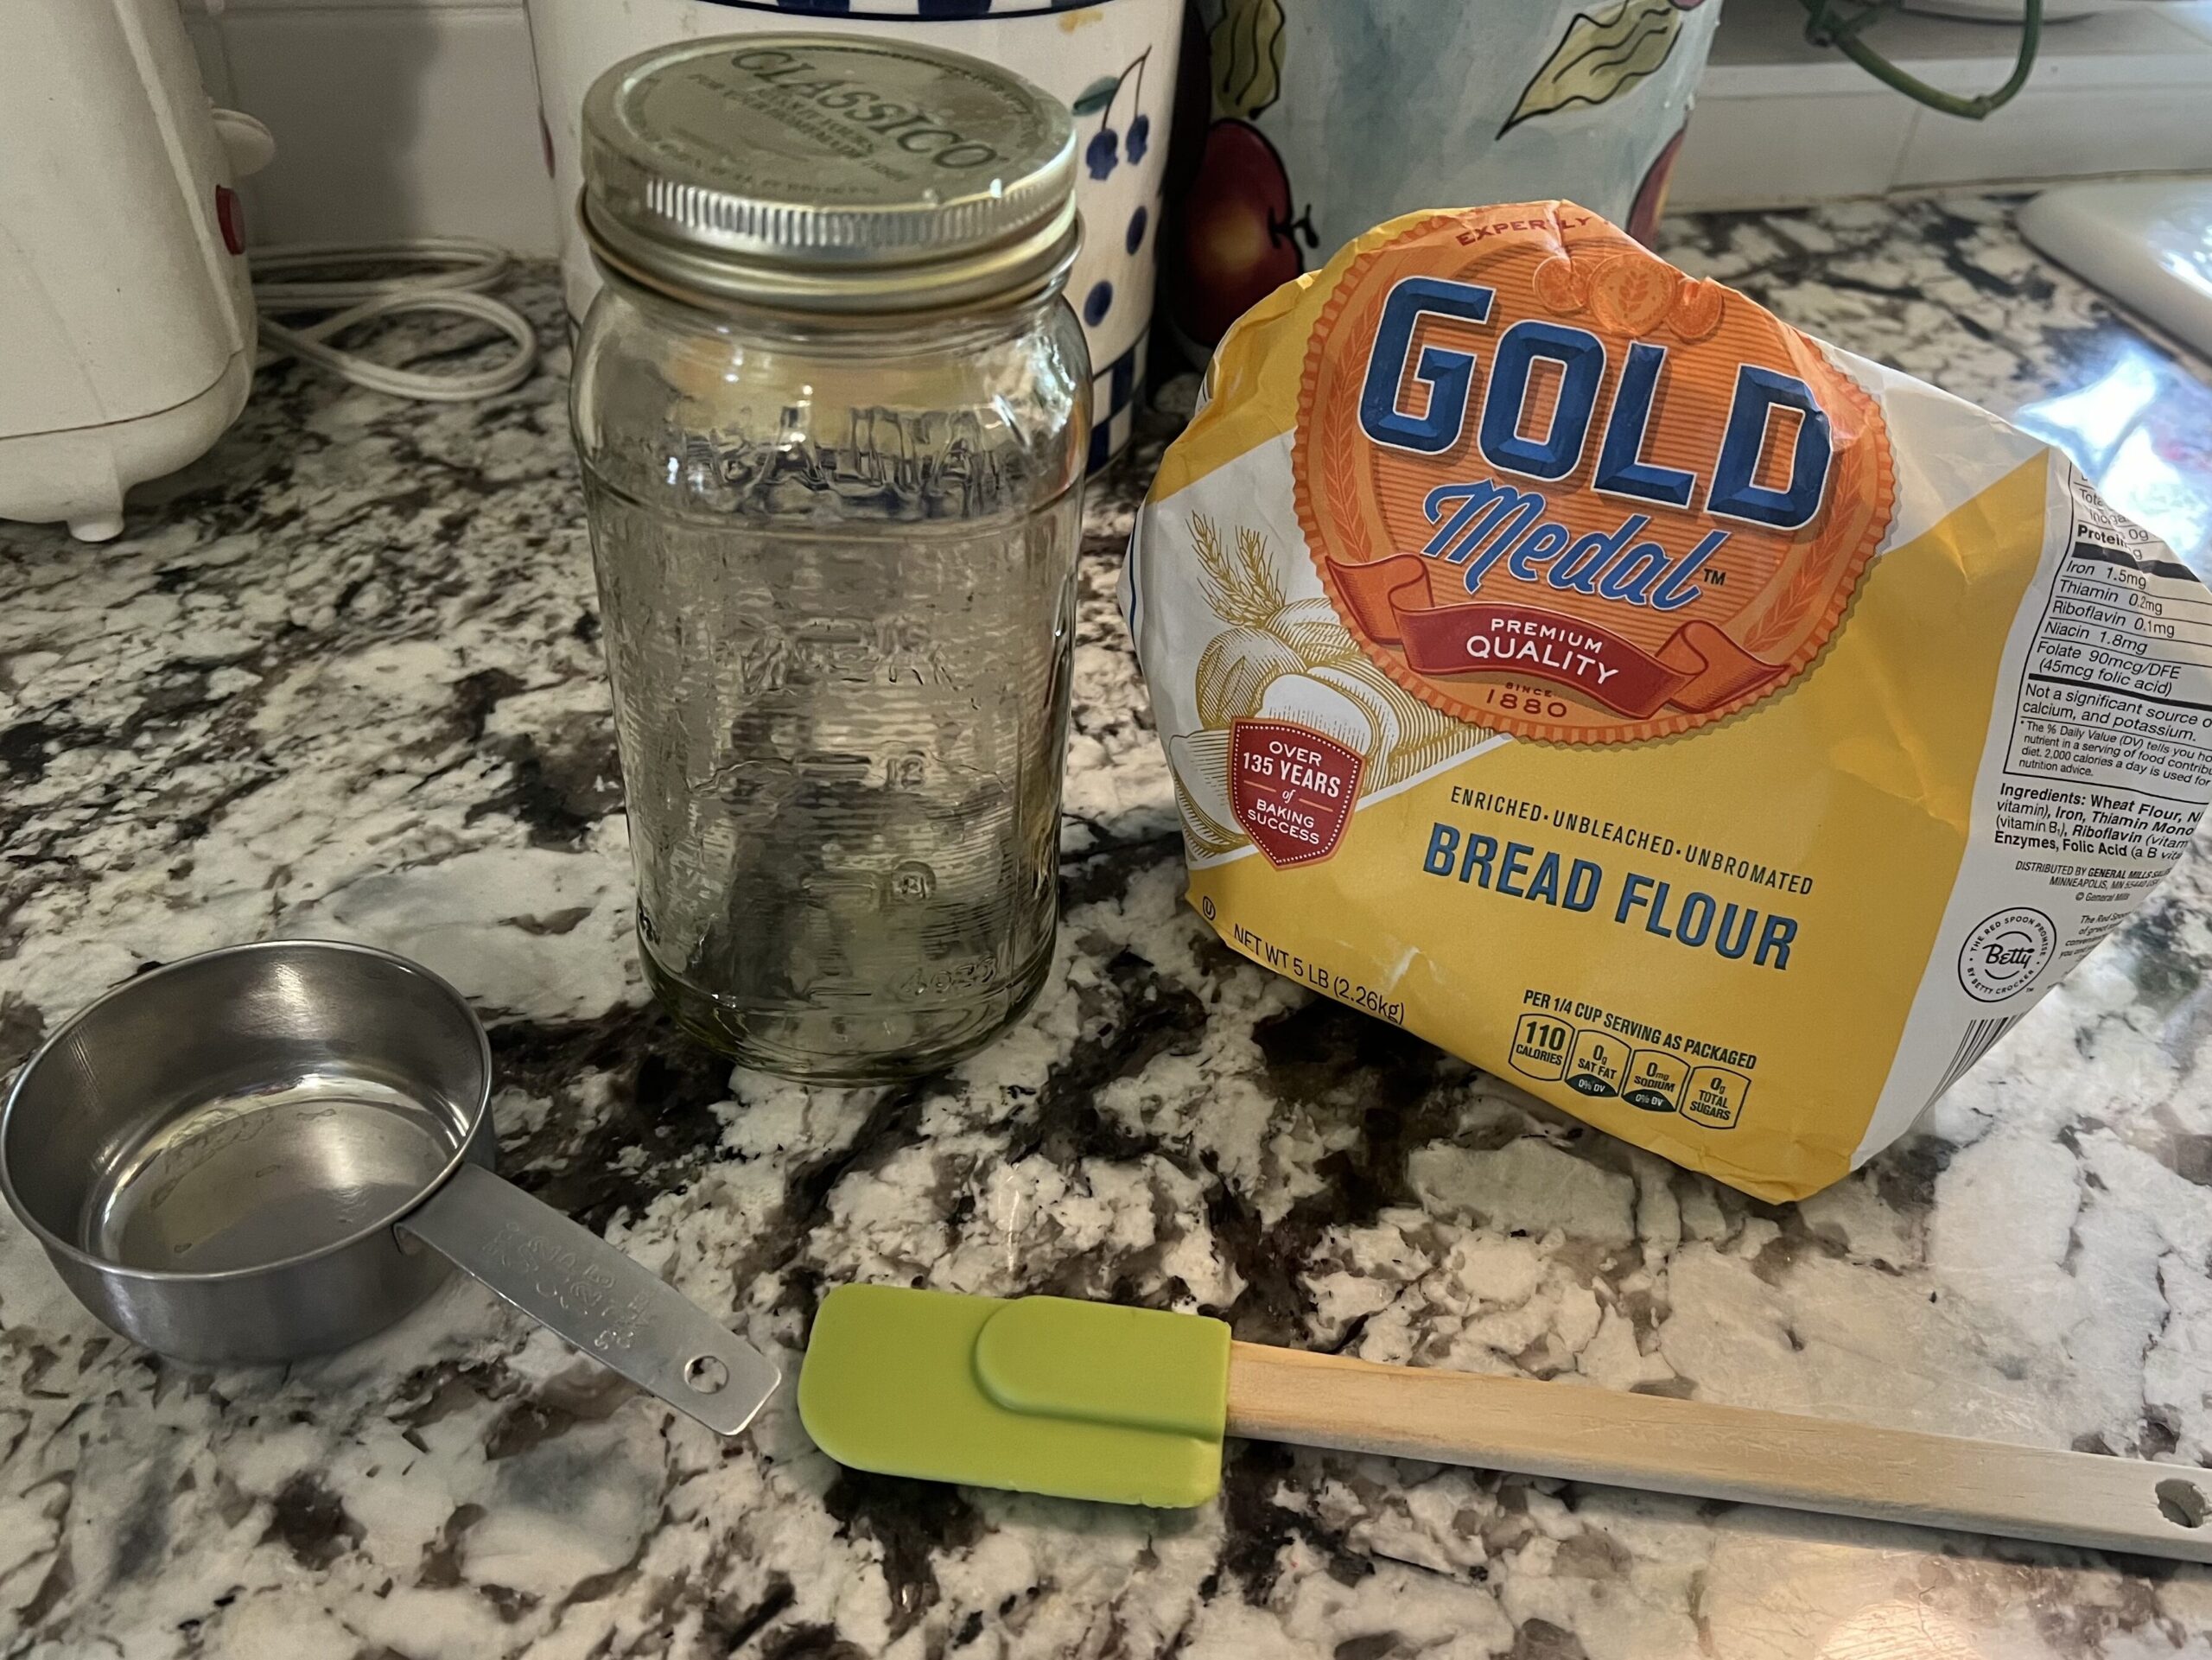
Ingredients
It’s flour and water. There. Boom. Done.. Shit you not.
The Flour: So the type of flour you use does kinda matter. I’ve seen most people prefer and get the best results with ‘bread flour’, which is what I use and prefer. All purpose flour also works great and it’s what I used in my first starter, the only thing that is important is that it’s ‘non-bleached’. Basically, flour is best with a bit of aging to it, sure if you freshly mill your own that’s fine and great to use, but most people prefer it aged. And aging… takes time… obviously, and in our consumeristic society that just doesn’t work. So ‘bleaching’ flour was invented which is just a bunch of chemicals used to speed up the aging process of the flour. This harms some of the yeast, vitamins etc. that sourdough needs to use to become, well, sourdough.
The Water: Tap could be fine, if you know your tap water is good. Most people who do sourdough I see using some sort of filtered or bottled water. I have a water filter on our sink so I use that. Temperature wise you want close to room temp. Too hot and it could hurt the natural yeasts, too cold and they wont activate making it take longer. So, room temp if possible.
The Jar: You’ll also need some sort of jar you can loosely cover. I’m using an old speghatti sauce jar. Most tend to use mason jars. Make sure it’s NOT plastic. You want glass for this. Nothing porous either.
The Spatula: I use a wood handle with rubber baking spatula. It’s small and good at cleaning the sides of the jars. Otherwise, up to you. I recommend something non-porous, however, as you don’t want the starter to stick to it very easy.
Marker: Something to mark your jar with. Dry erase, sharpie, rubber band, most anything works.
Ratios and Measurements
Look, everyone who does sourdough is gonna have an opinion about ratios. Few people agree. You know what I think? I think if people have been doing this shit for thousands of years, on boats, in carriages, on trains and on foot then does it really matter?
I try and do a 1:1:1 ratio. And let me break that down for you because nobody told me what all those numbers fucking mean so I had to figure out the hard way.
When you first make your starter you only have two ingredients, flour and water, so why three numbers? Because every day after the first you will have three things you’re mixing when you feed your starter, flour, water, and your starter. Which number is which? Fuck if I know, it’s one of the reasons I use the 1:1:1 ratio.
Most people use grams and such to measure in the sourdough world. Something about it ‘being more reliable’ or ‘being more consistant’ or ‘what most the world does’ or ‘just making sense’ but I don’t care about that. For this, I’m using cups and half cups. Again, on boats, in carriages and on foot. For thousandas of years. It can’t be that hard. Also, not everyone has a food scale but most everyone has measuring cups. I do recommend a food scale eventually as recipes for sourdough that use cups measurements are far and few between. Plus, a good food scale can come in handy for lots of things.
Make That Bitch
Step 1
Now assuming your jar and spatula are clean already, you’ll want to measure one cup of flour and put that in your jar. Try not to pack the cup full of flour, having it loosely packed or flatted with the back of a butter knife is fine.
Step 2
Measure out a cup of water and pour a bit more than half in your flour. From here you will mix and add more water as you need.
The amount of water you need may not fit into ratio depending on how humid where you live is or how hot. You don’t want a watery starter, it shouldn’t easily drip off the spatula. What you want is a starter that clings to your spatula when you lift it, and slowly drips off on its own. Everyone says to make it like a slightly thicker pancake mix, if that description helps at all.
Step 3
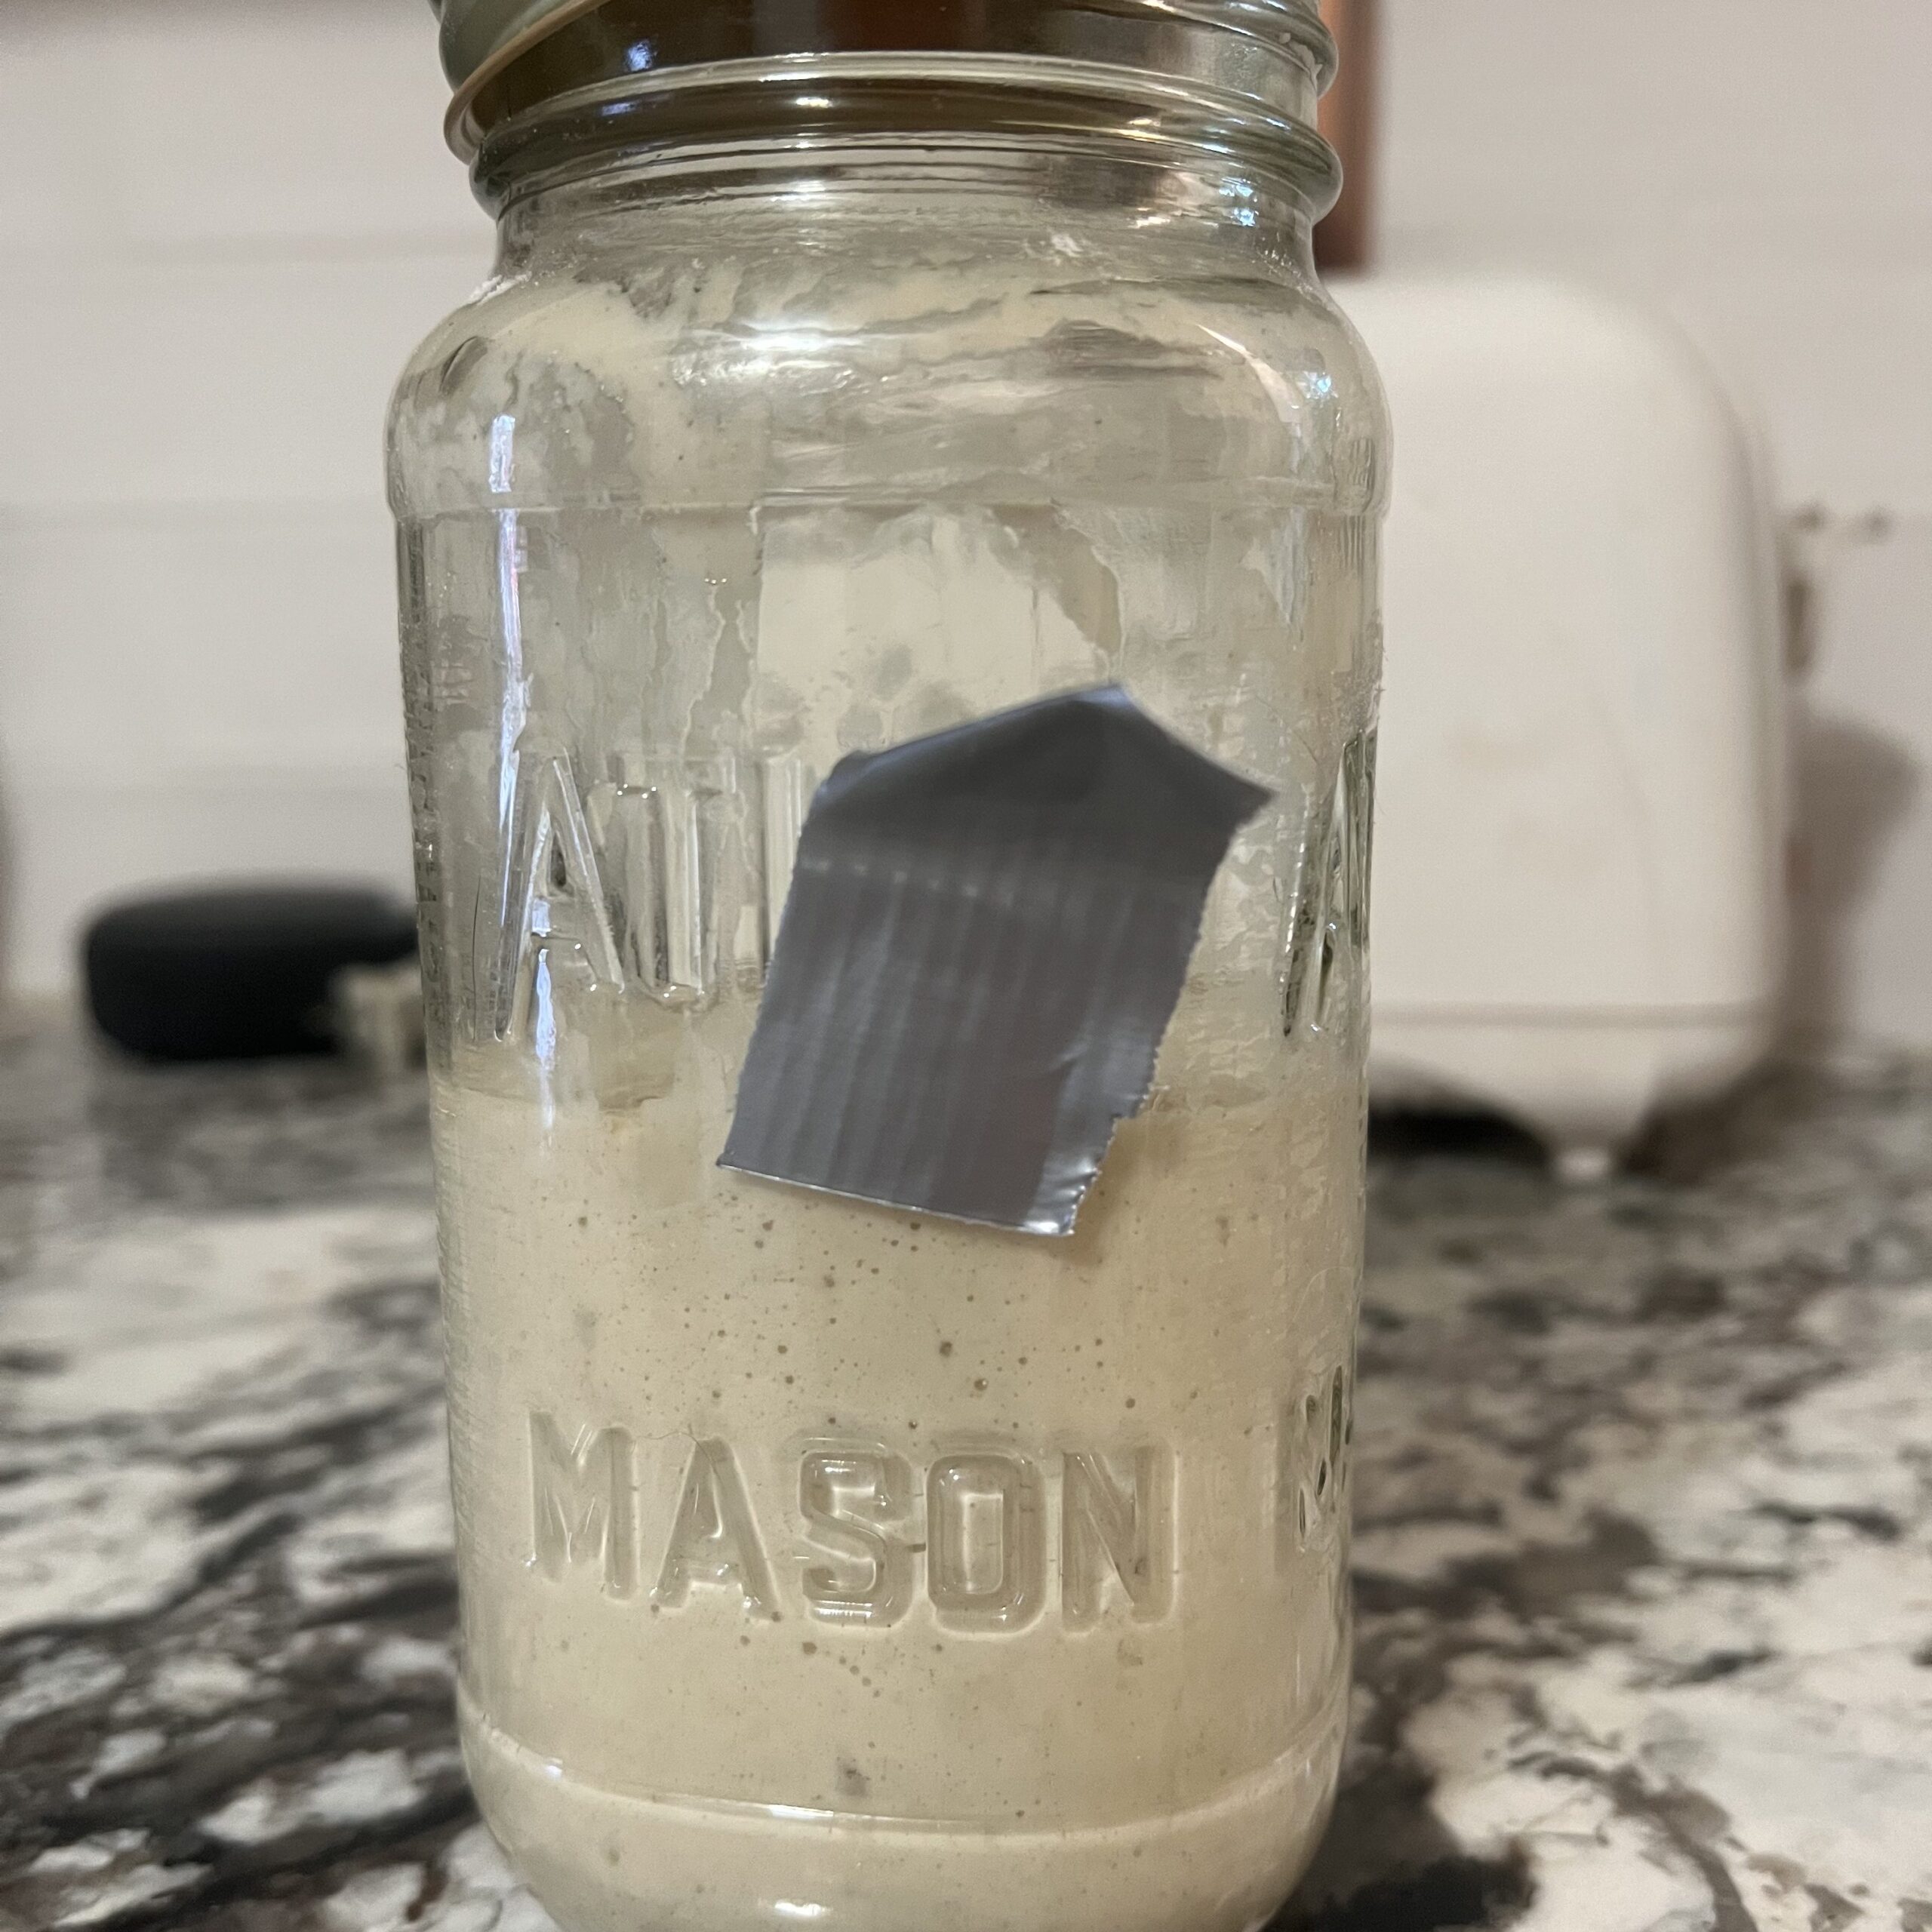
After mixing use your spatula to scrape the insides of your jar down and make them as nice as you can. I also like to get a paper towel and clean around the rim of mine. Now, put a loose lid on, your starter needs air but we don’t want stuff getting in it. I kinda just rest my lid on top and then push if off to the side. With my first starter I put a paper towel on it and secured it with a rubber band. Now, mark on your jar where the start is, what your fill line is basically. Mark it any way you can, hair band, rubber band, marker, tape what ever. Then sit it somewhere in your kitchen in your sight line but not direct sun for it to rest and do it’s thing.

The Next Day… And the Day After That… And the Day after that…. And the day after that….
First, remember it takes five to seven days for your starter to come to life, so keep repeating and hoping.
Step One
Now, here is were your chosen ratio comes into play. You will pour our some of your starter, try for about half. Put this ‘discard’ in the trash, compost, anywhere but down the sink. It’s not good for pipes. You can also (once your starter is active) save your discard for recipes.
Step Two
Take your half cup measuring cup and fill it with flour. Put it in the starter. Then add your half cup of water. Mix. Clean jar down. Re-mark level. Set aside to rest. That’s it. You will do this every day until it becomes active. See? I told you guys it was pretty easy.
And remember, it takes about a week for most people to get it active.
Is My Starter Active?
Probably, man, I don’t know.
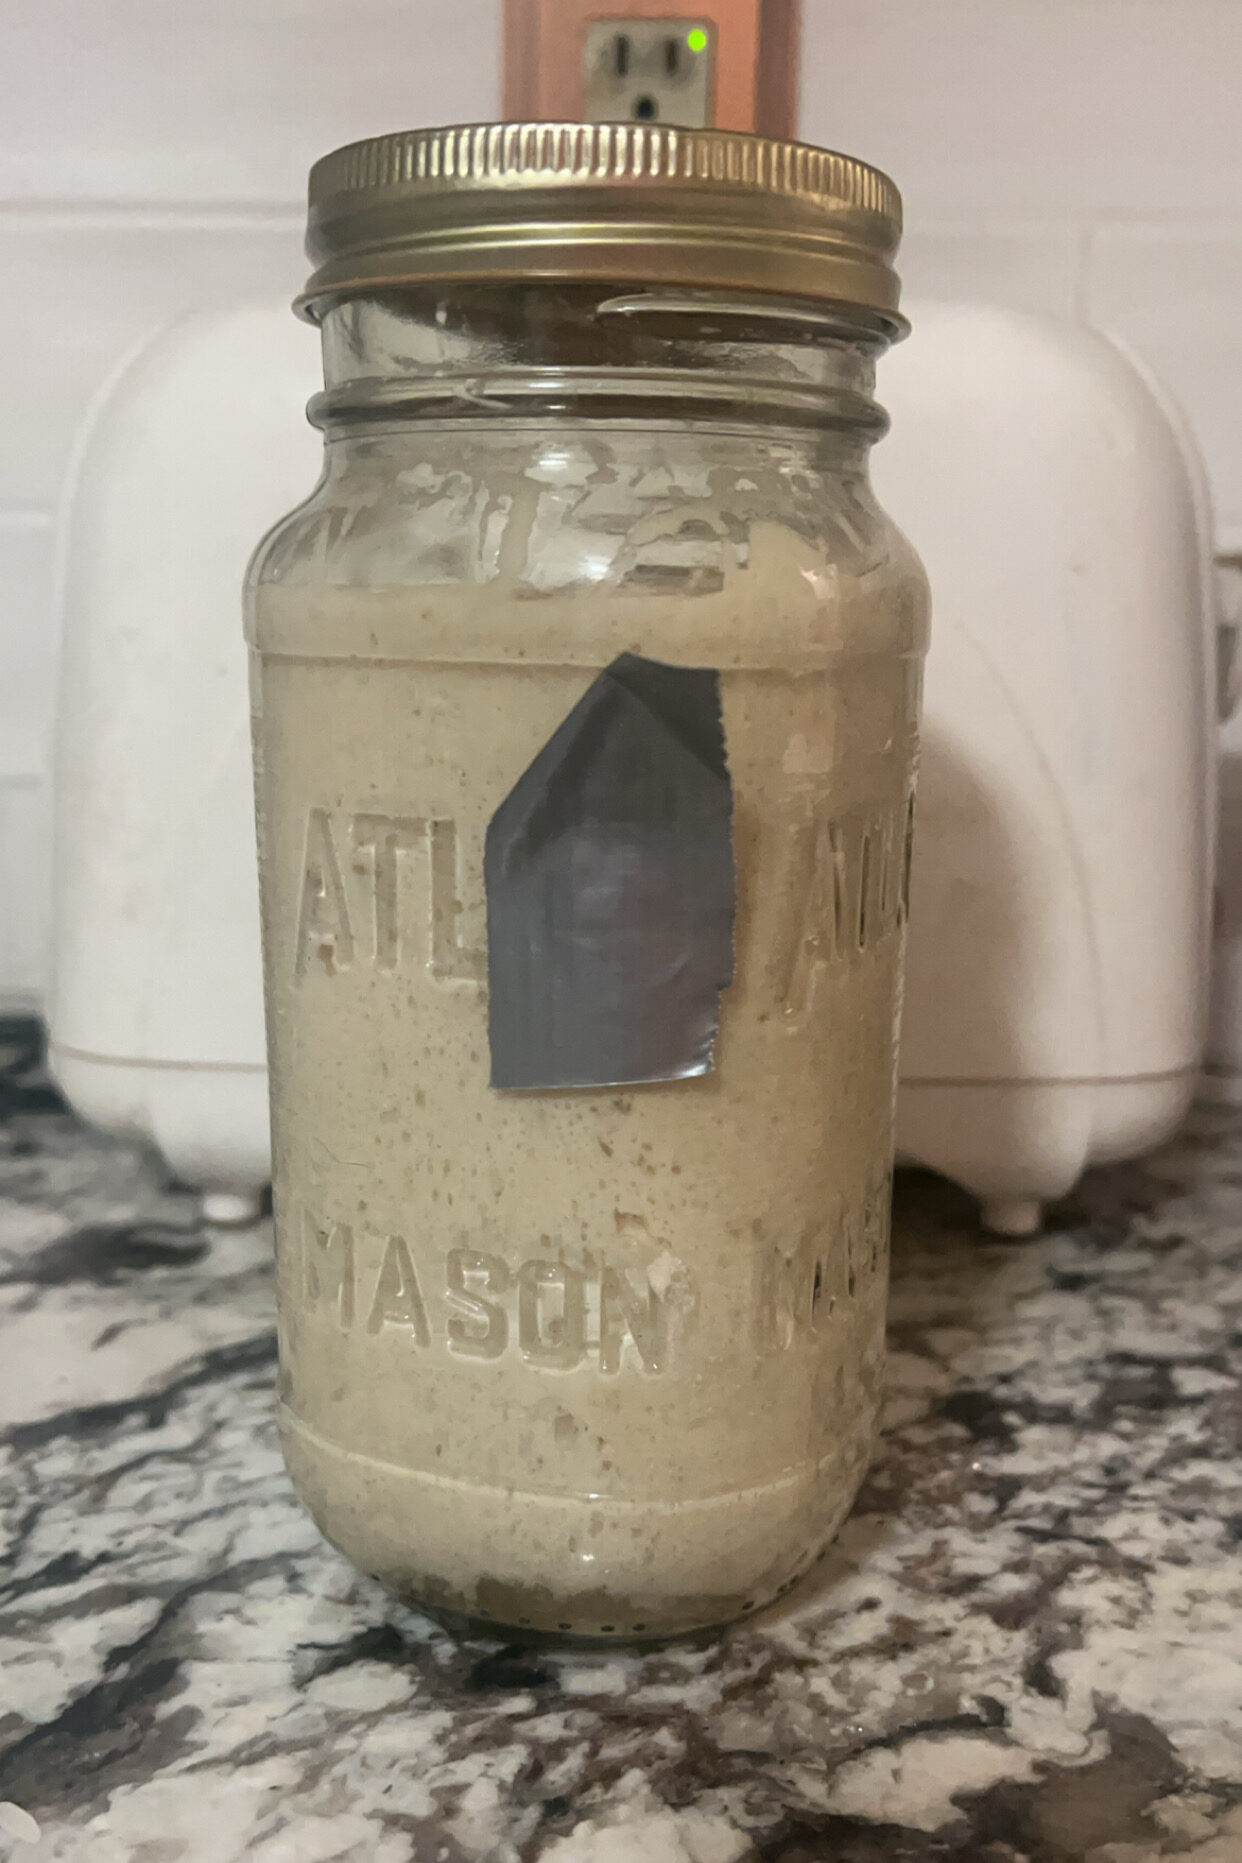
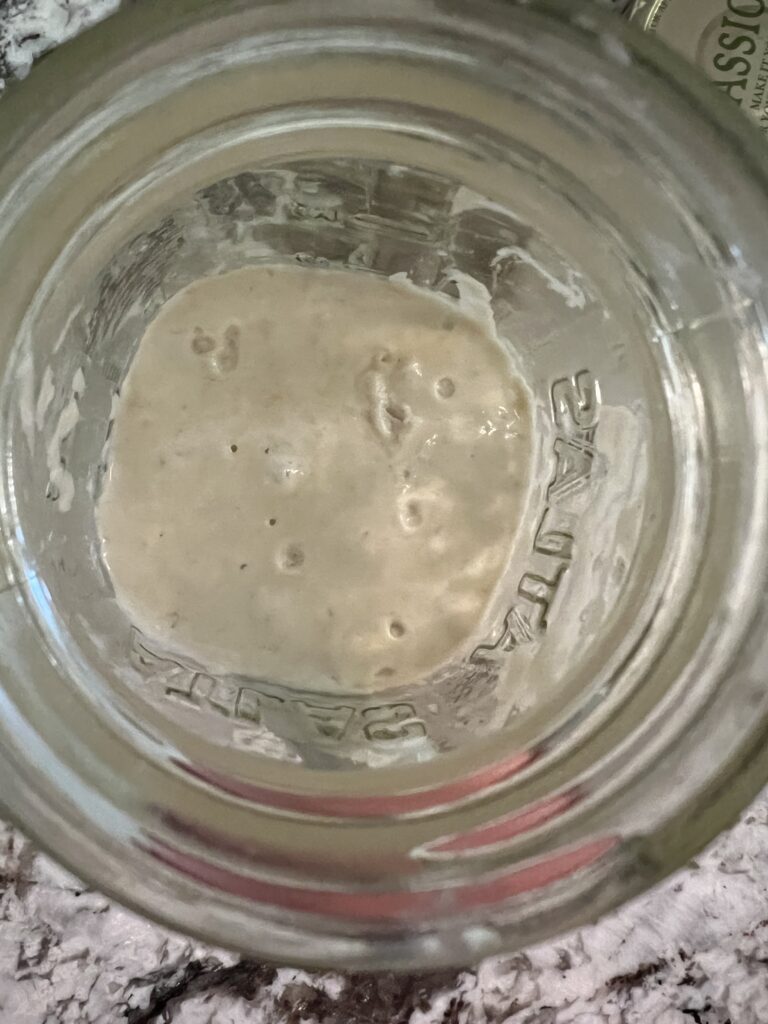
So, you’ve seen it start to grow? Almost double in size? Does it smell sour? Is it bubbly? Then, ITS ALIVE! Yay! You did it! It’s ready to bake with!
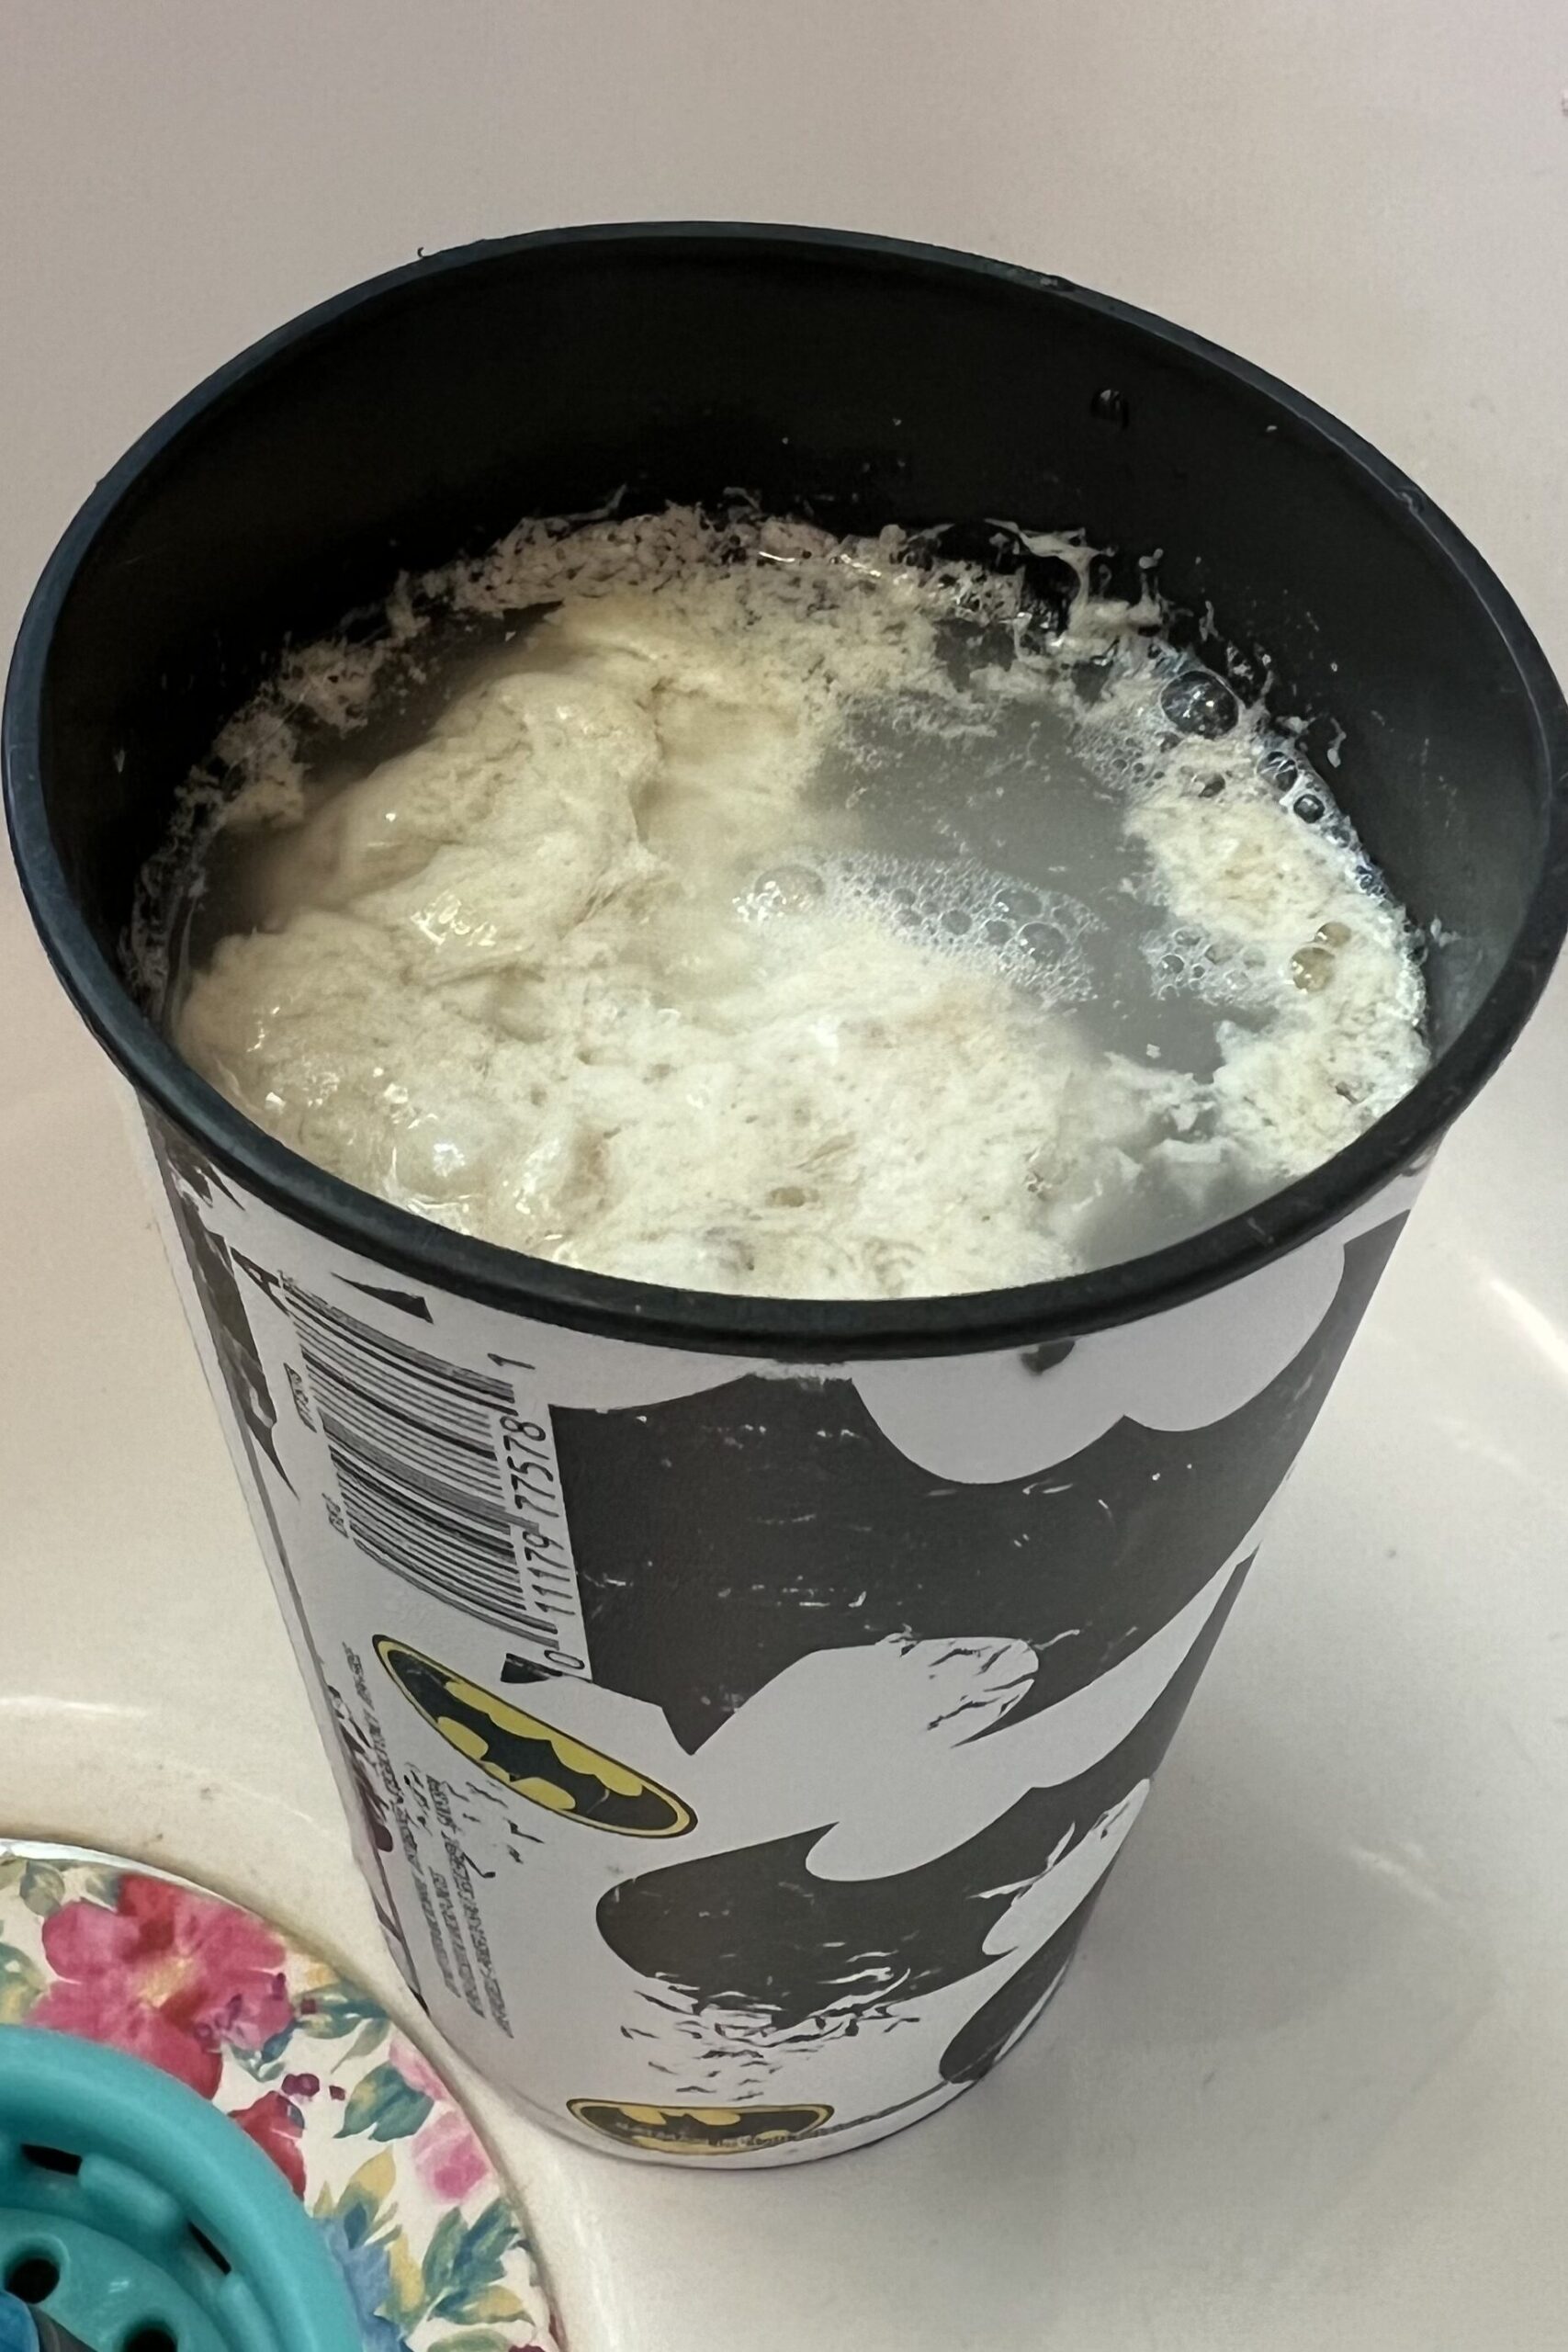
Did it grow twice the size two days in a row? Is it sour smelling? Is it full of bubbles and fermentation? Then it lives! If you want to be extra sure or maybe just check all you have to do is fill a up with room temp water and drop a little bit of your discard in. If it floats, it is totally alive and ready to go. If no? Give it a could more days. But there you go! You did it! You’ve now created you very own sourdough starter!
Now, a super bummer happened to my starter. Right after getting it alive and thriving and ready to bake with I….. got super sick and let it die. But don’t worry! I’ll go through how to keep that bitch alive and bring it back from the dead in another post coming soon!